Written by Adam McCrae
Disclaimer: Foraging mushrooms, while an exciting and fun activity, is not a game. Never eat any mushroom that has not been 100% identified as edible by someone qualified to do so. Always cook wild mushrooms thoroughly, and try a very small amount your first time eating a species to test for personal intolerance. (Eat 1-2 bites, wait 24 hours). Do NOT trust any app to ID mushrooms for you.

The 2024 Chanterelle season here in the Pacific Northwest is one of the best we've seen in several years. Many foragers are left wondering what to do with their excess mushrooms!
Heyo, Fungi Fans! Today we're going to quickly go over the widely preferred method for long-term storage of Chanterelle mushrooms: Sautéing, then Freezing.
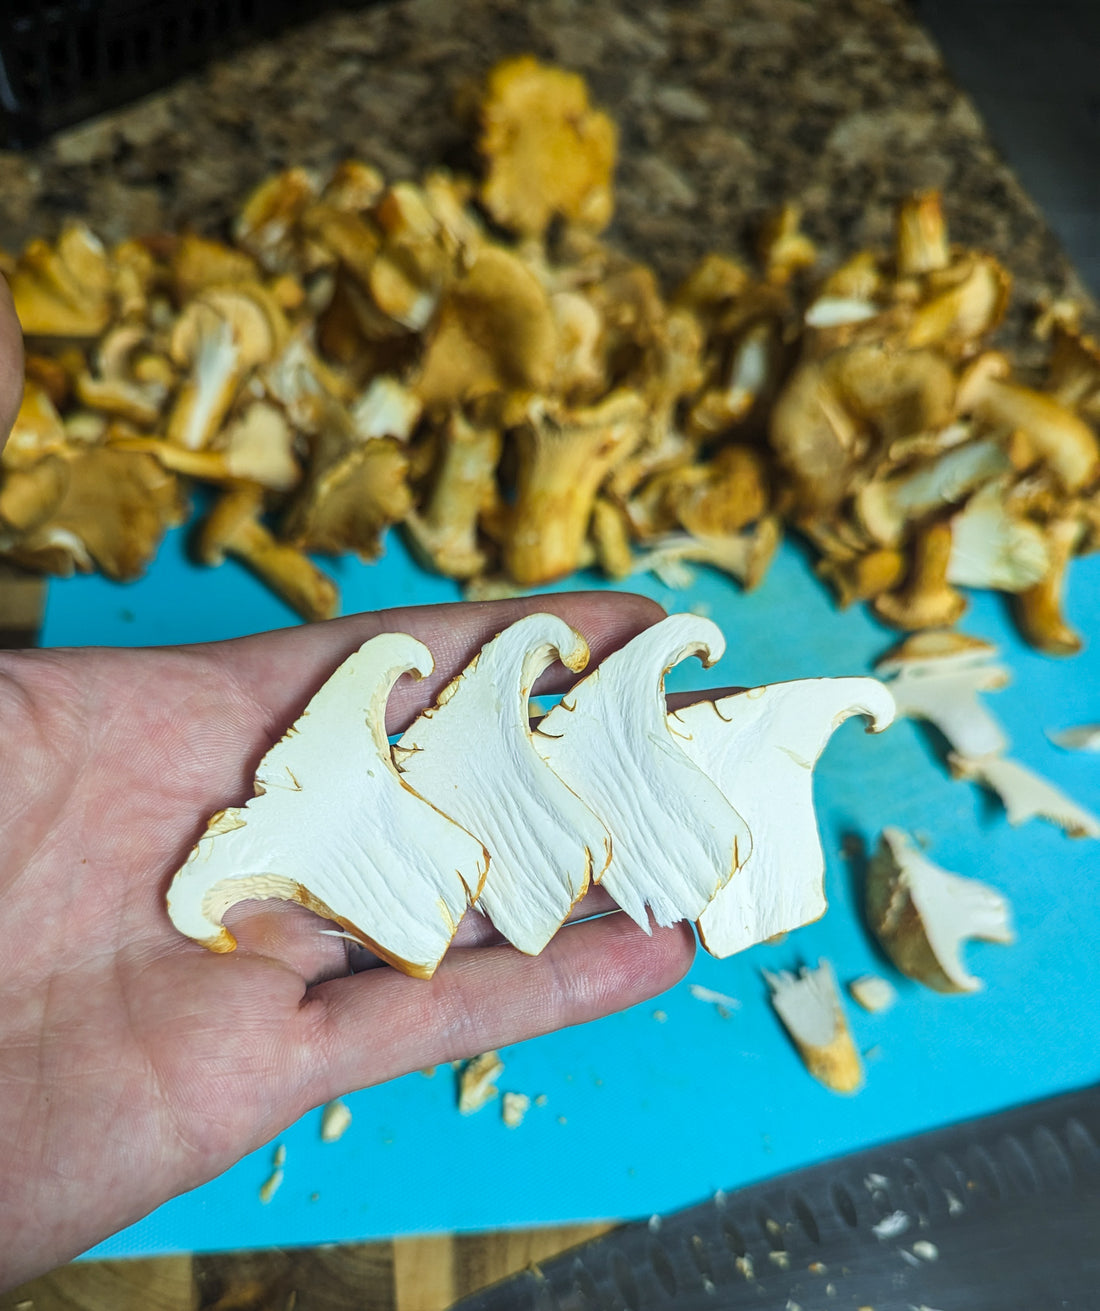
Why is this method usually preferred over standard dehydration? Simply put, Chanterelles are well known to get a rubbery, chewy texture when rehydrated. That being said, dehydration is still a safe, viable method of preserving Chanterelles. Always cook them thoroughly before use, as dehydration temps are not sufficient to ensure safe edibility. You can help the texture by chopping them finely, and there are anecdotal tales that rehydrating in hot milk will bring them closer to their original texture, although I have not tried that myself.
There are several other options for long term storage of Chanterelles such as pickling, freeze drying, oven roasting/freezing, or making a duxelles, each with their own set of benefits and drawbacks.
If you have the freezer space, a quick sauté to draw out their water before putting them in freezer bags (vacuum seal if you have it) is a fantastic way ensure an end product that is extremely close to the original quality. 2-3 pounds of Chanterelles will cook down and fit into a single freezer bag in a thin layer, making them easy to stack.
Directions:

A bowl of sliced Chanterelles, ready for the sauté pan.
3. Heat a large sauté pan (or two) over medium-high heat on your stovetop. Add a touch of oil (or even just a bit of water) to prevent initial sticking. Add Chanterelles and give them healthy pinch of salt to help bring out their own liquid. The amount of liquid they release depends on the species of Chanterelle you're using, the weather, the time of year, the age of the mushroom, etc.
*Don't be too afraid of overcrowding the pan. We're more worried about releasing that water and cooking them through. You can get a better sear when you go to use them afterwards.*

A large amount of liquid released during cooking a batch of Chanterelles.
4. Continue to cook until that liquid has boiled off and the mushrooms are tender. If desired, reduce heat to medium, add a bit of fat (oil, butter) and continue to cook until seared to your liking. You may also add onions, shallots, thyme or any other seasoning you like at this stage. During this batch, I just used a bit of oil and more salt, leaving their flavor profile open for later use.

Once the water is gone from the pan, you can stop cooking and freeze them at this point or continue to sear a bit for less work later on.
5. Set each batch aside to cool, and repeat the cooking process for all the mushrooms you wish to freeze. Once all of your mushrooms are cooked and completely cooled off, go ahead and put them into freezer bags. 3-4 cups pressed flat in a gallon-sized baggy will leave you with an easily stacked product. Use your mouth to suck out excess air, or just use a vacuum sealer if you have one. You can use parchment paper to separate them into easy-to-grab sections, but it's fairly easy to just break off as much as you need from a flattish frozen baggy.

Set your mushrooms aside and let them cool completely before putting them in freezer bags. Hot mushrooms will continue to steam and create moisture, hampering the freezing process and possibly lowering quality.

3 bags of sautéed Chanterelle mushrooms ready to go in the freezer.
6. That's it! Just put those bags in the freezer! When you want to use some, just pull one out and break off a chunk of mushrooms, throw them in a hot sauté pan to thaw out, then start adding butter/onions/whatever your recipe calls for. My Creamy Chanterelle Soup is a great way to use up large quantities of both fresh and frozen Chanterelles, for what it's worth. 😉
-----------------------------------------------
Thank you so much for reading! If you're here, it's very possible that you recently picked so many Chanterelles that you don't even know what to do with them. Congratulations. 🥰
If you have the time, please check out some of our original Chanterelle artwork! Created by my very own wife, and available on our full selection of products including our high quality Mushroom Stickers! We now offer over 35 of her mushroom-themed designs, and some of her Chanterelles are just gorgeous. One of our newest additions and my personal favorites is the "Love, Oregon" Chanterelle Raindrop seen below.
"Love, Oregon" Chanterelle Raindrop Mushroom Sticker
--------------------------------------------


